Setting up Travis CI for Django
I've been working on a project for some time now, a homebrew materials database, that was small enough that I could run my entire suite of functional tests manually with Selenium on my local computer. Recently, I integrated Elasticsearch to the project for scalable search functionality. The downside was that I did not realize how sizeable my functional test suite had become. With over 50 tests in my repository and growing with each new function, it was getting to the point that I could start running my tests, then maybe grocery shop and then check the status to see if they were done. Granted, some could possibly be removed or refactored, but I haven't had the chance to review the suite to see what I could part with. Enter Travis CI.
I've known about continuous integration automation for some time, but hadn't quite been to the point where I absolutely needed to add it to my project. There are several instructional videos that help to explain how to implement this testing strategy, but I found the documentation to be relatively easy to follow despite a few troubleshooting errors.
After integrating my Github account (it's easy to sign in using Github) I was able to select which public repositories that I wanted to add to Travis.
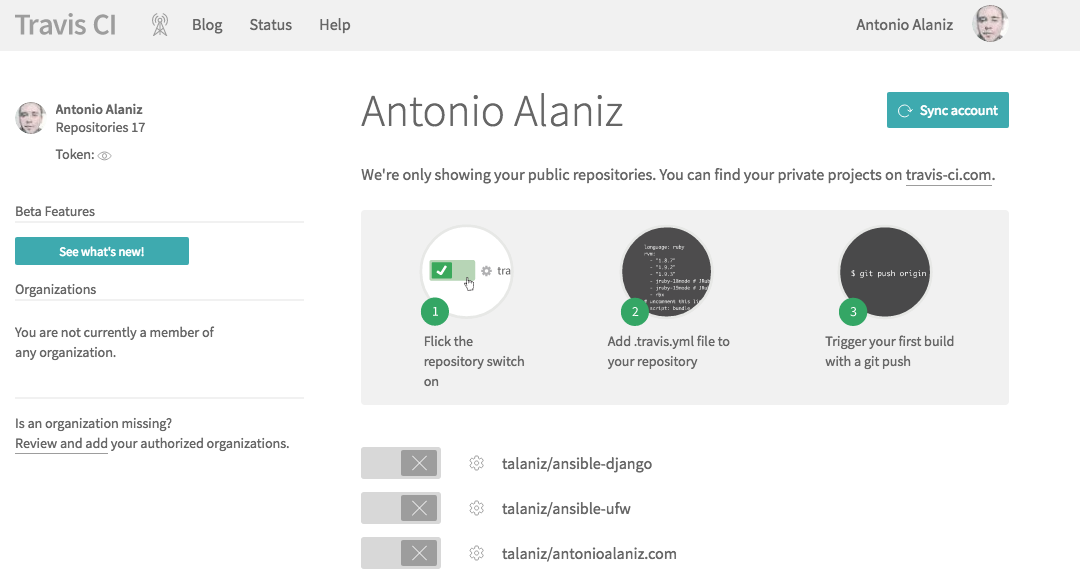
Once I selected the new project, Travis created a simple dashboard for me to update settings before committing my next build. Here you can see I've started to setup a new Ansible role (next article) in order to begin testing automated deployments--
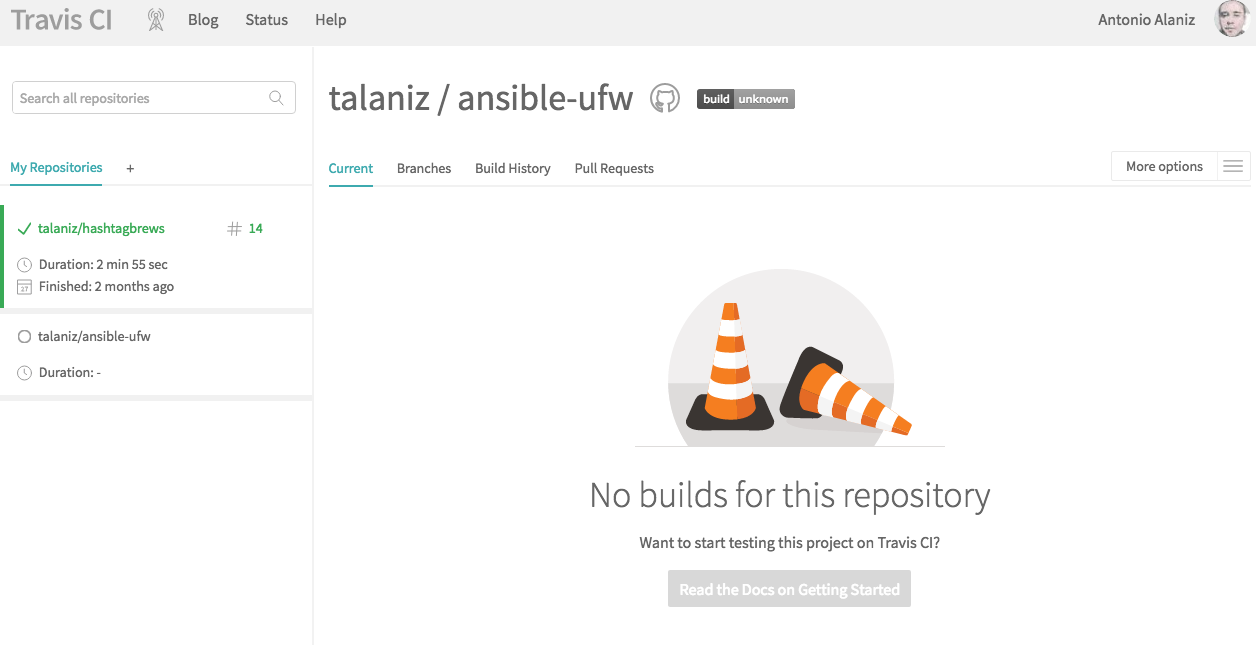
The only special setting I really used was "Build only if .travis.yml is present", which I've added to my version control. My strategy now is to run the new individual functional tests and related tests manually (which should be fairly quick by themselves), then let Travis run the rest of the suite as a regression test to ensure I haven't broken anything that I didn't run manually before my final push.
Travis Configuration Files
There were two configuration files that needed to be added to my project before I could fully test my application. First, I had to add a database.yml file in a folder labelled 'config' in my main project directory. This contained parameters for how I wanted to connect to my database. Since I'm using Django with a PostgreSQL backend, I need Travis to connect to a test database, but I don't want it to necessarily use my database settings from settings.py--
postgresql: &postgresql
  adapter: postgresql
  username: user
  password: password
  database: database
  min_messages: ERROR
The travis.yml file proved to be relatively simple, but I had a few stumbling blocks with including elasticsearch. As it turns out, running elasticsearch was as simple as including it in the services section of the yml configuration file. Travis will automatically use this service to run elasticsearch, no further configuration needed (at least for my purposes)--
language: python

python:
  - 3.4

services:
  - postgresql
  - elasticsearch

env:
  - DJANGO=1.9.1

before_install:
  - export DJANGO_SETTINGS_MODULE=hashtagbrews.settings
  - export PYTHONPATH="/home/travis/build/talaniz/hashtagbrews"
  - export PIP_USE_MIRRORS=true

install:
  - pip install -r requirements.txt
  - pip install django==$DJANGO --quiet
  - pip install psycopg2 --quiet

before_script:
  - psql -c "CREATE DATABASE hashtagbrews;" -U postgres
  - psql -c "CREATE USER antonioalaniz1 PASSWORD 'password';" -U postgres
  - psql -c "ALTER USER antonioalaniz1 CREATEDB;" -U postgres
  - psql -c "GRANT ALL PRIVILEGES on DATABASE database to antonioalaniz1;" -U postgres
  - cp config/database.travis.yml config/database.yml
  - "export DISPLAY=:99.0"
  - "sh -e /etc/init.d/xvfb start"
  - sleep 3 # give xvfb some time to start

script:
  - python manage.py migrate
  - python manage.py test homebrewdatabase.tests
  - python manage.py test functional_tests
Here's a simple breakdown of each section of the yml file--
language: the language in which the project is written.python: since the project was written in Python, the version needs to be specified. The structure is a list, so multiple versions can be used.env: the Django environment to use. This wasn't always a big deal for me when I first started writing small projects, but they've made some strides in core functionality, so it was time to get specific.before_install: a number of steps to take before installing the environment. This setting loads my Django settings, sets my Python path and determins how pip is used.install: packages to install, in this case through therequirements.txtfile.before_script: tasks to be completed before the test scripts are run. In this instance, the database is being created and setup so Django can connect to it. We also setxvfbwhich allows us to run the tests headlessly (no screen).script: The tests scripts to run; these can be functional or unit tests.
Looking Forward: Next Steps
While I had to take a break from this project to get this blog running and the deployment automated, I also spent some time thinking about what I hoped to do with this new test setup now that I'd gone through the effort to get everything up and running. Continuous integration carries so many possibilities. While I'm still working on a few new features before I finally deploy, I think adding hooks to automatically deploy the updated project to my staging and production servers are most likely my next best bet.
When I return next time (hopefully soon!), I have several playbooks from a module called Ansible that helped me automate how I deploy this blog and is an instpired me to write the article and share how it can make development and deployment easier for you.